Ultimate Guide to Bolt Modding the IBM Model M Keyboard
Some reasons you might need to do the bolt mod:
Keys are ghosting or not registering at all.
You notice that several of the plastic rivets holding the frame on have broken off.
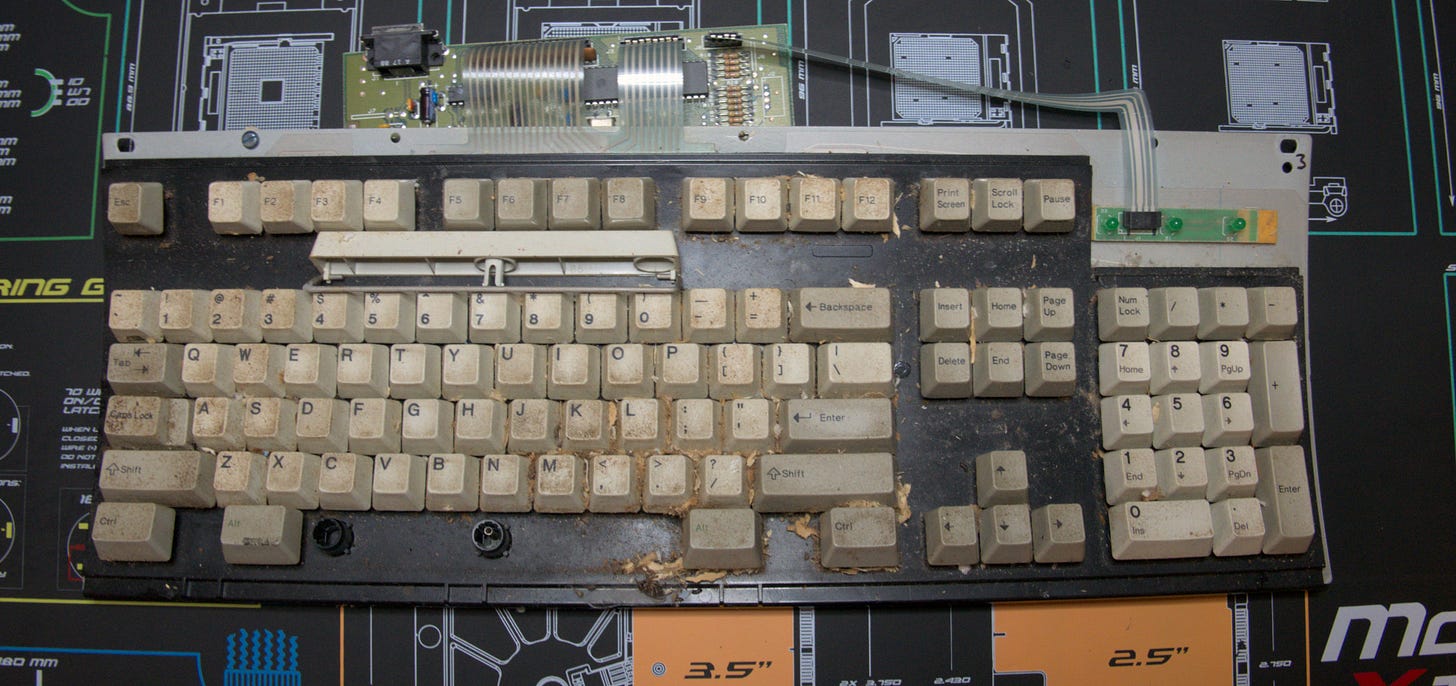
It lived in a shed for the last 20 or so years and desperately needs a deep cleaning.
A combination of all these as is the case of the keyboard in this guide.
Some things you’ll need:
(50) M2.5x8 machine screws (8mm long screws)
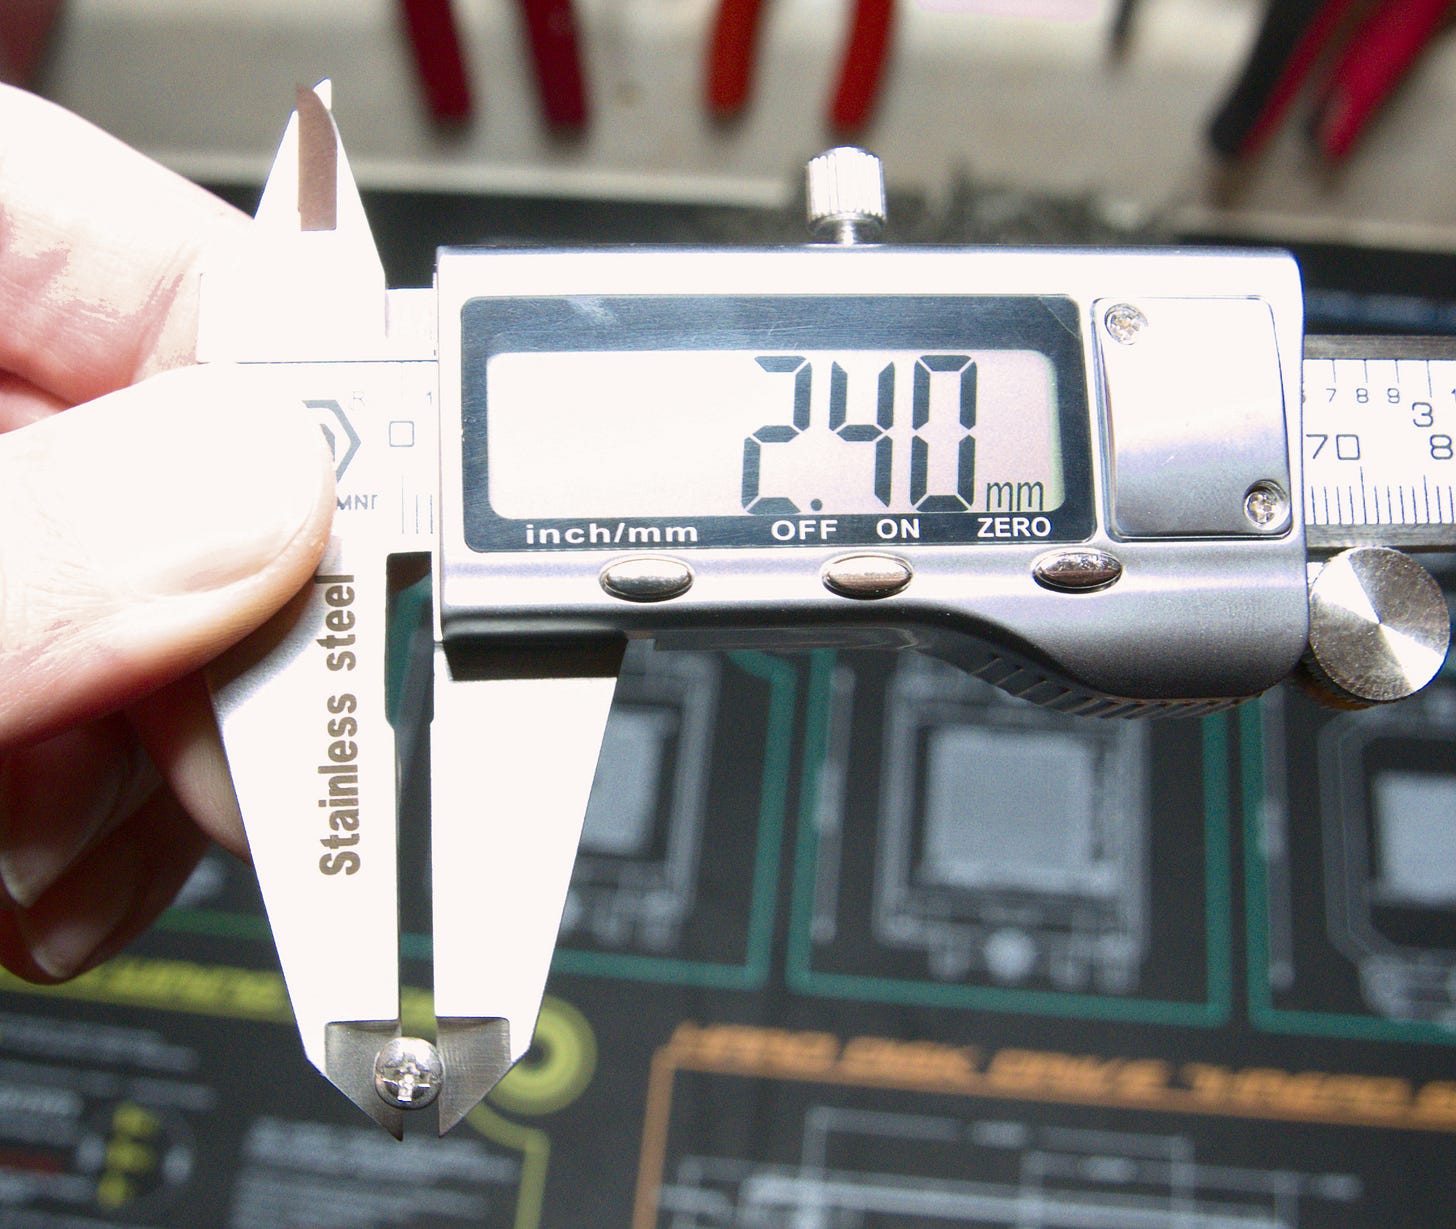
(8) M2.2x6.5 flat head screws. (6.5mm long screws)
(50) M2.5 nuts
You can use washers on the nut side if you want to for extra support. In 20 years, I haven’t had a problem with this method though. If you do, use 10mm long screws instead of the 8mm screws.
A jig of some kind to keep the frame off the table.
A flat razor scraper knife. Just the razor will do as well.
Key cap puller. Or you can pry them carefully with a screwdriver.
Tool set that includes a #1 phillips and both 5mm nutdriver and 5.5mm nutdriver (5.5mm is for the case screws; 5mm is for the machine screws)
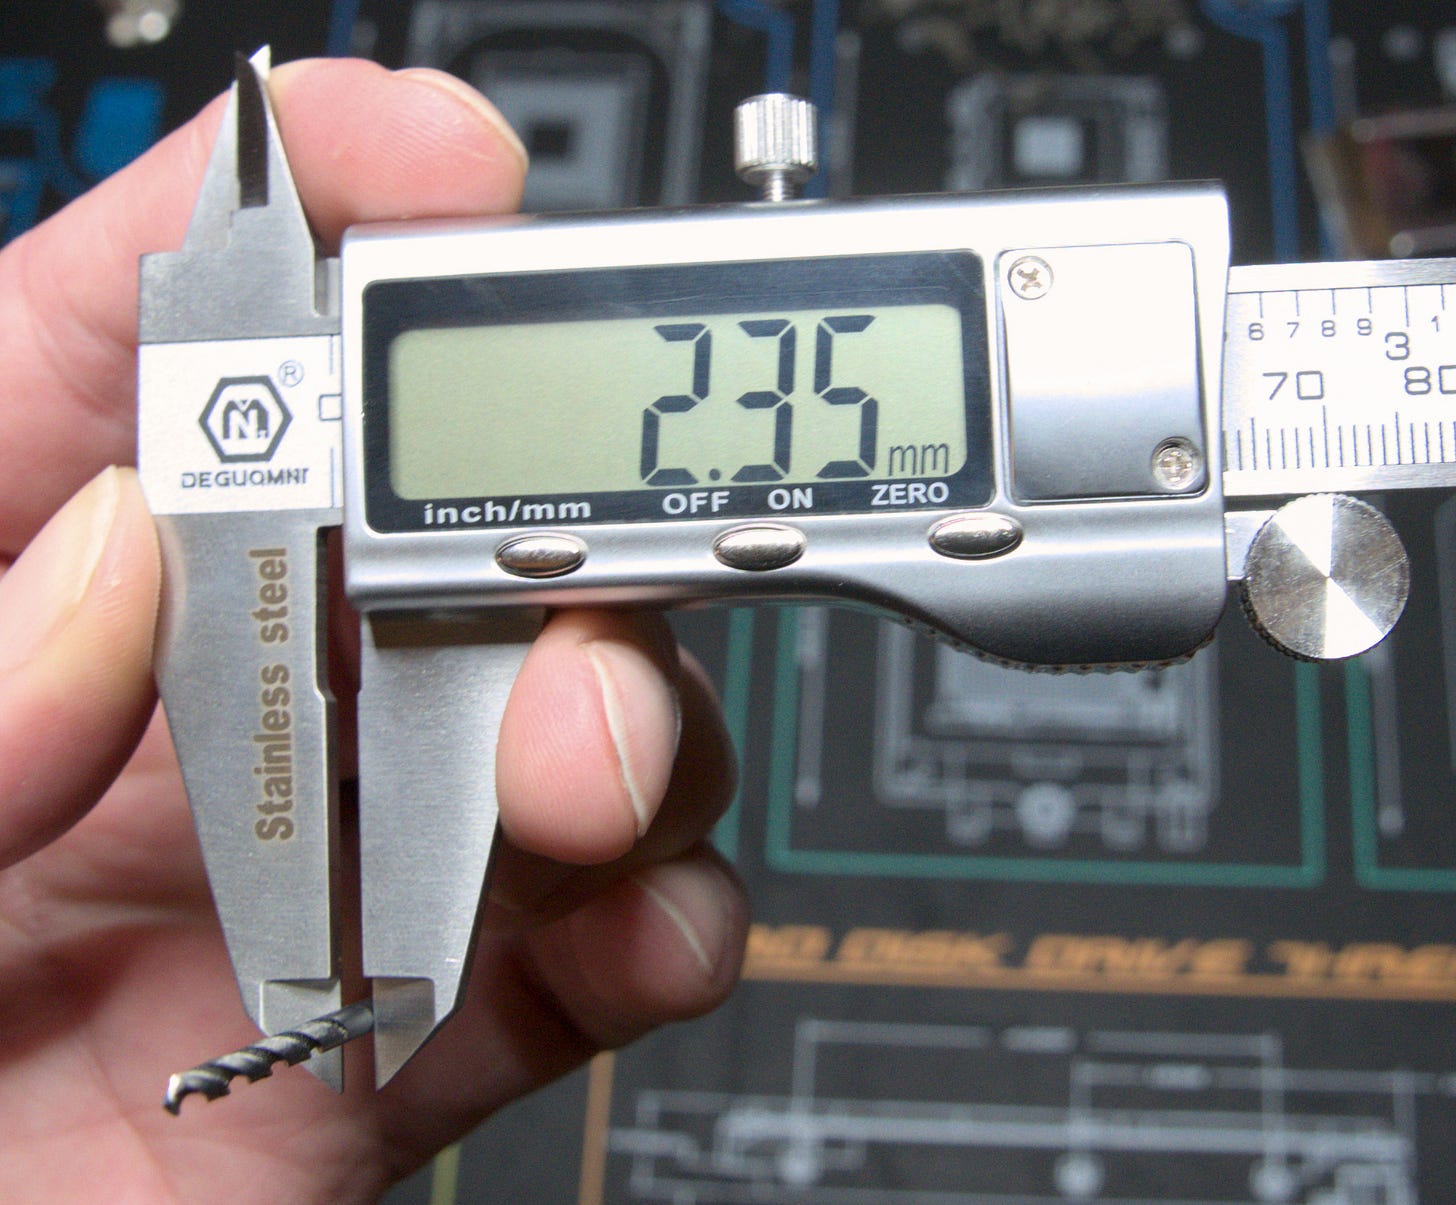
3/32 in drill bit
1/16 in drill bit
The screws are slightly larger than the holes we drill so it makes a nice snug connection.
Upon inspection of your keyboard, you may also need parts from Unicomp:
Replacement covers or frames. The frame is the black plastic part the keys stick into. If it has cracks of any kind, order a new one.
Replacement membrane assembly. Give Unicomp your keyboard’s part number and they will send one; same with the frame.
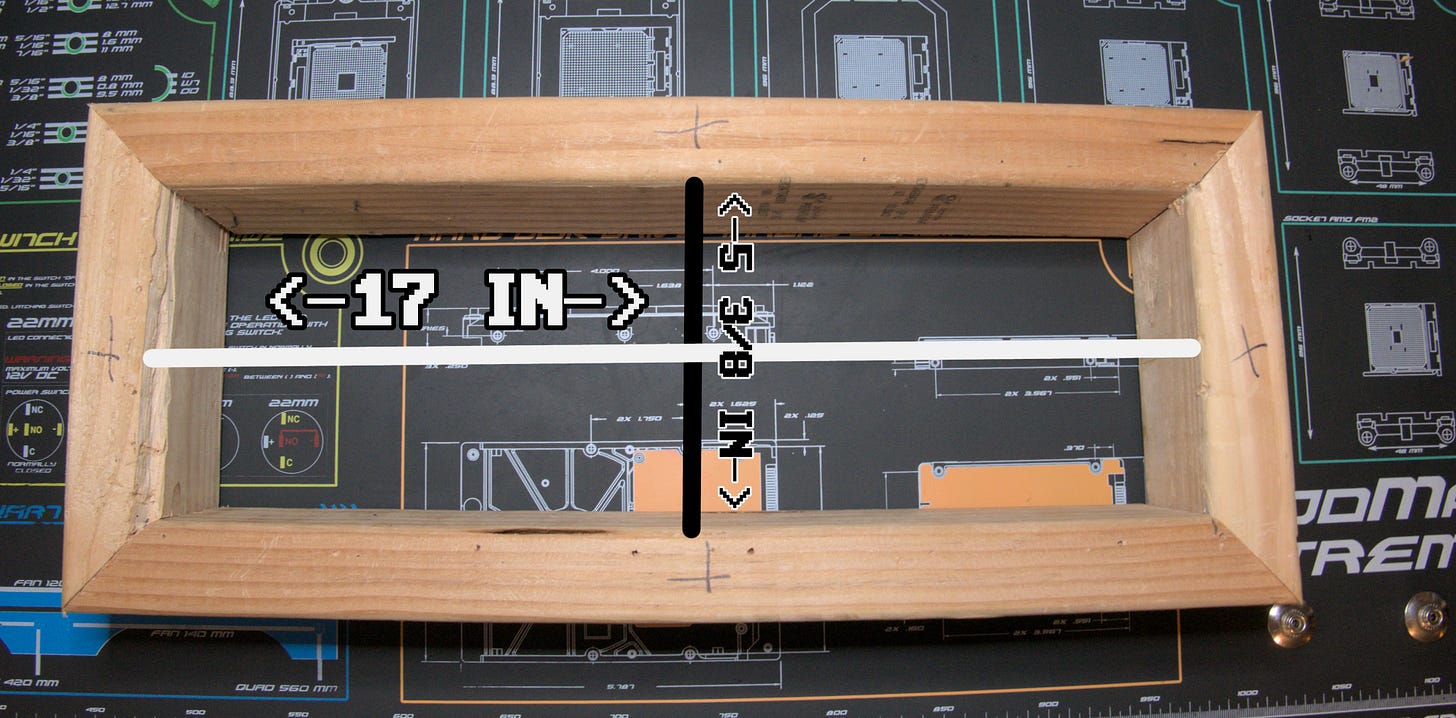
Here is my jig. It’s simply a rectangle made of 2x4s. You want it to measure 17in x 5 3/8 in on the inside. This is so the frame can rest in it letting the springs hang down and the pivot plates be flush in their saddles since the springs stick out further than the key holes.
Okay, lets get into it!
I’ll assume you have the case apart and it’s already in the dish washer, so we’ll just get to the restoration.
Pull all the keys and wash them if necessary. Mine have half the dirt in IL on them so I’m going to wash them. I just soak mine in Dawn soap and hot water for the time it takes to restore the keyboard, stirring them up with a dish brush a couple times.
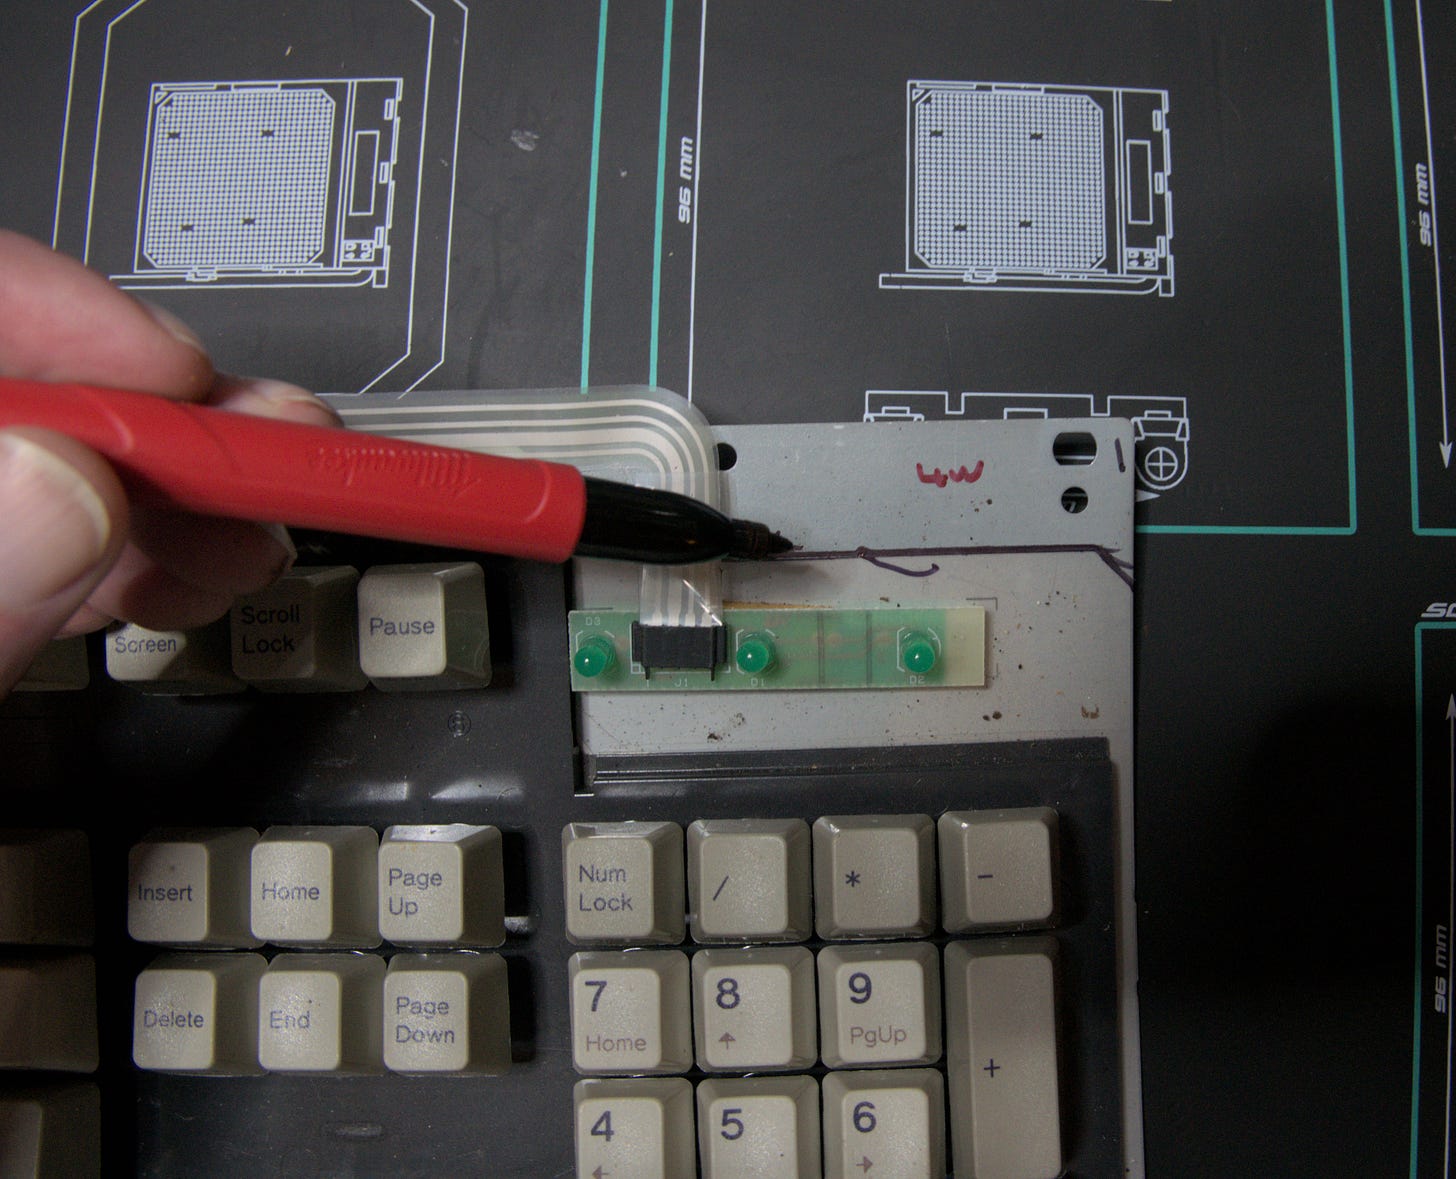
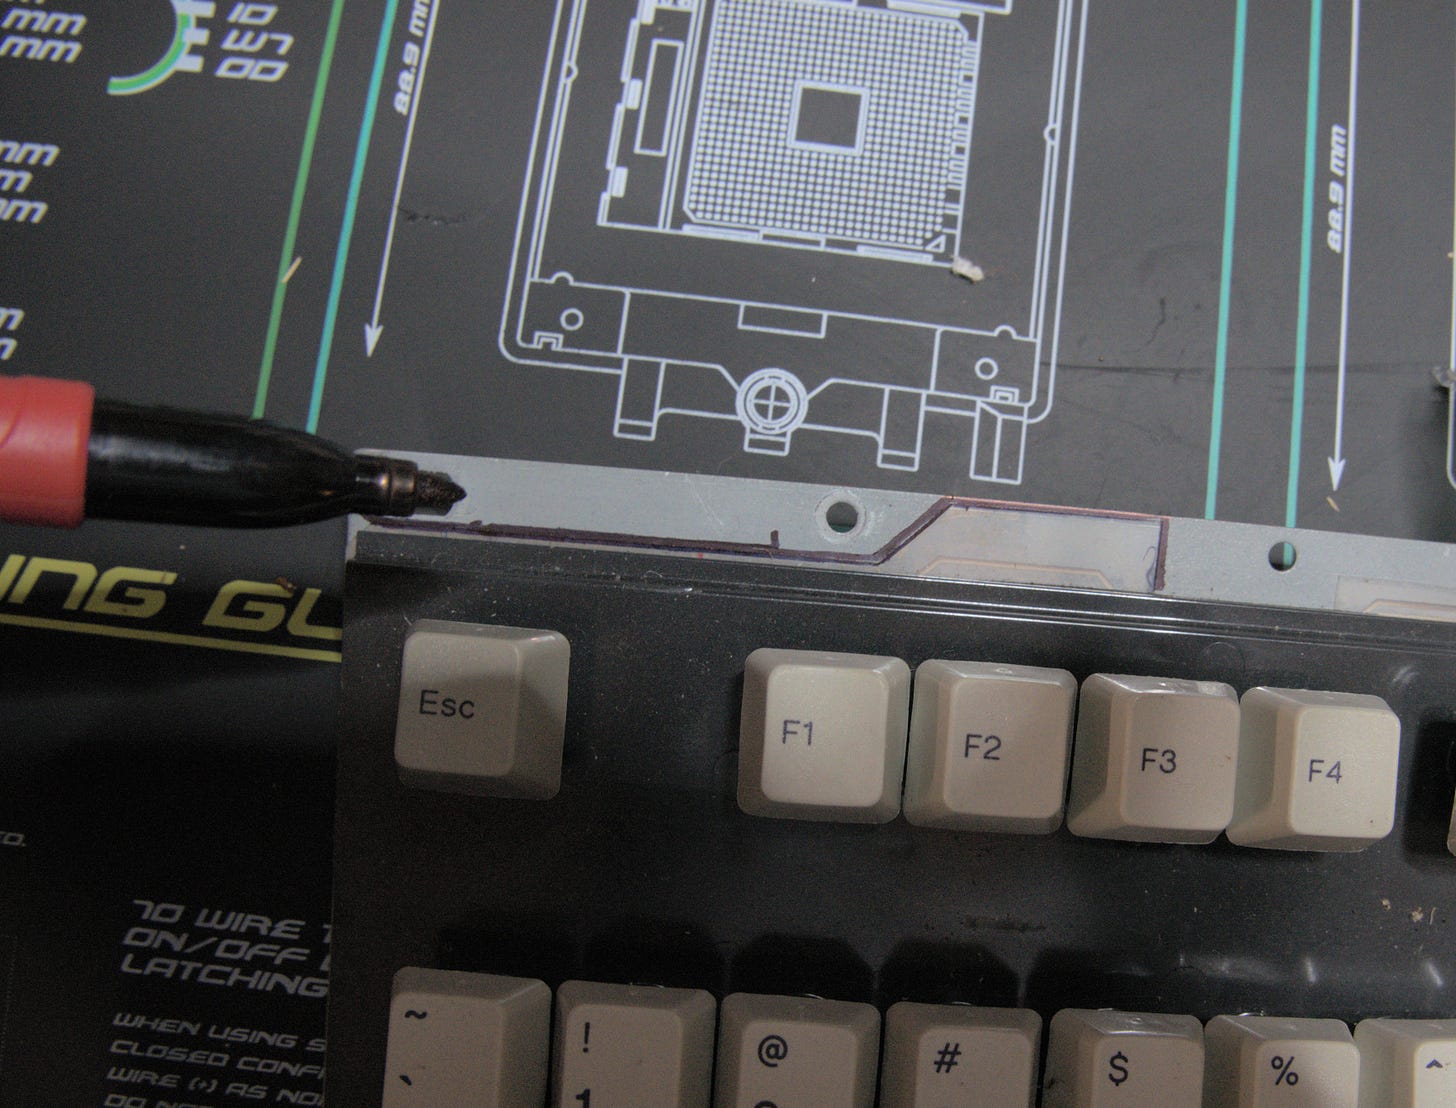
Before I start scraping rivets off, I mark where the membrane sits on the back plate so I can verify its exactly where it should be when I put it back together.
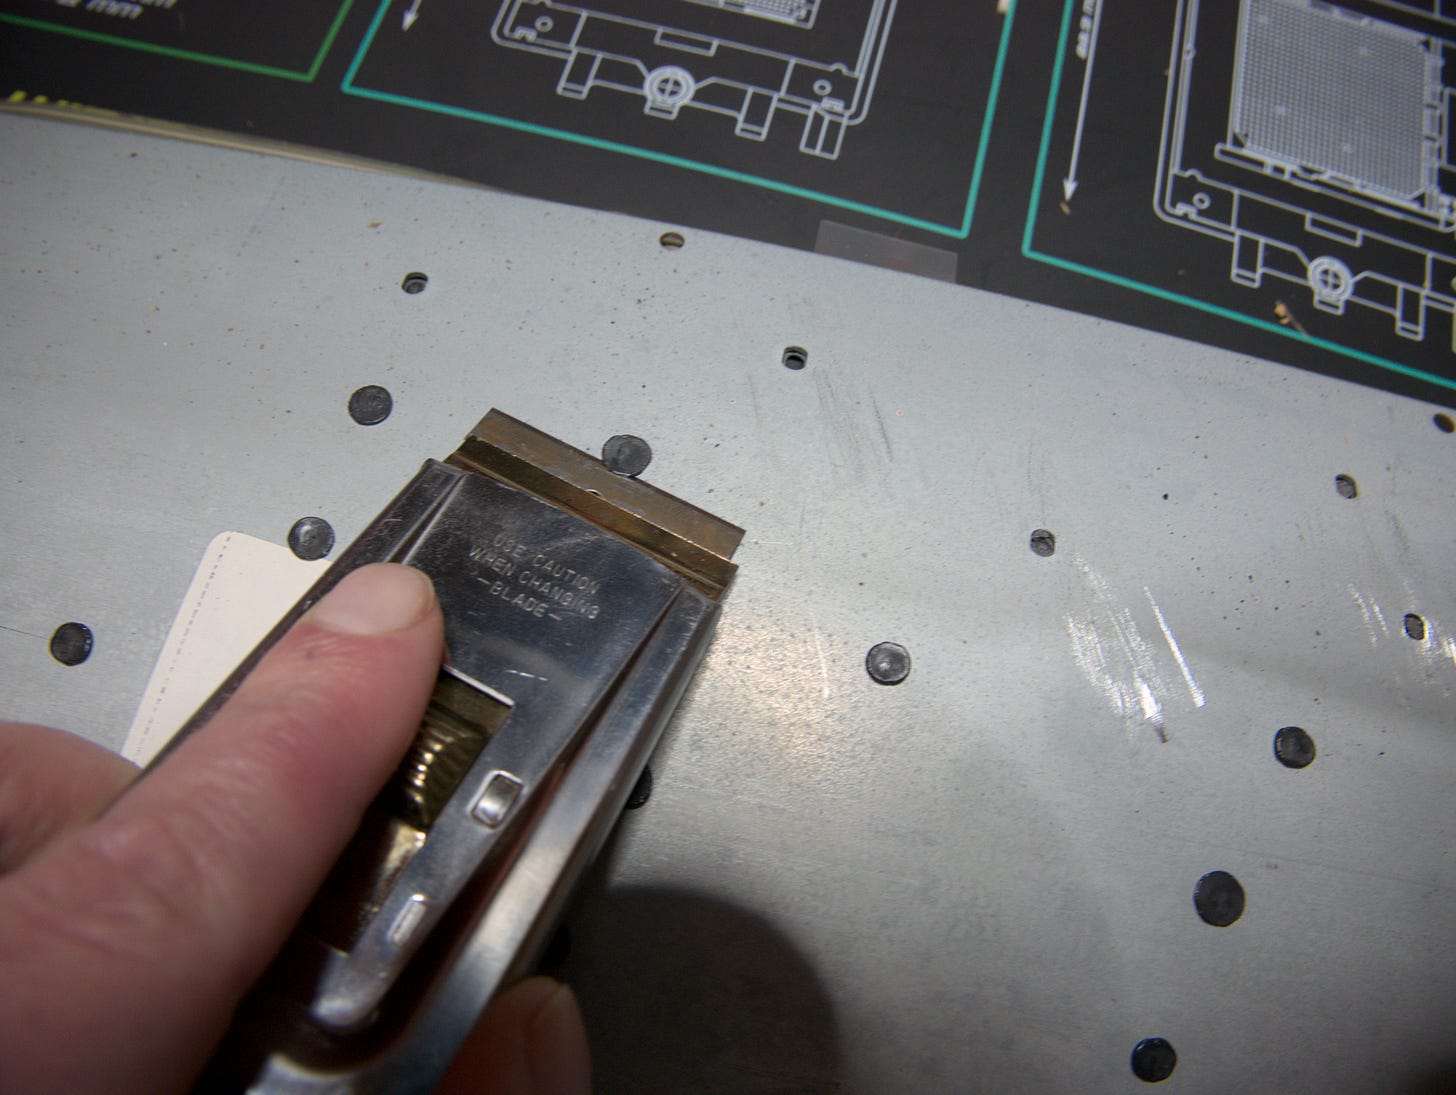
Now scrape the rivets off. They come off easy with the razer.
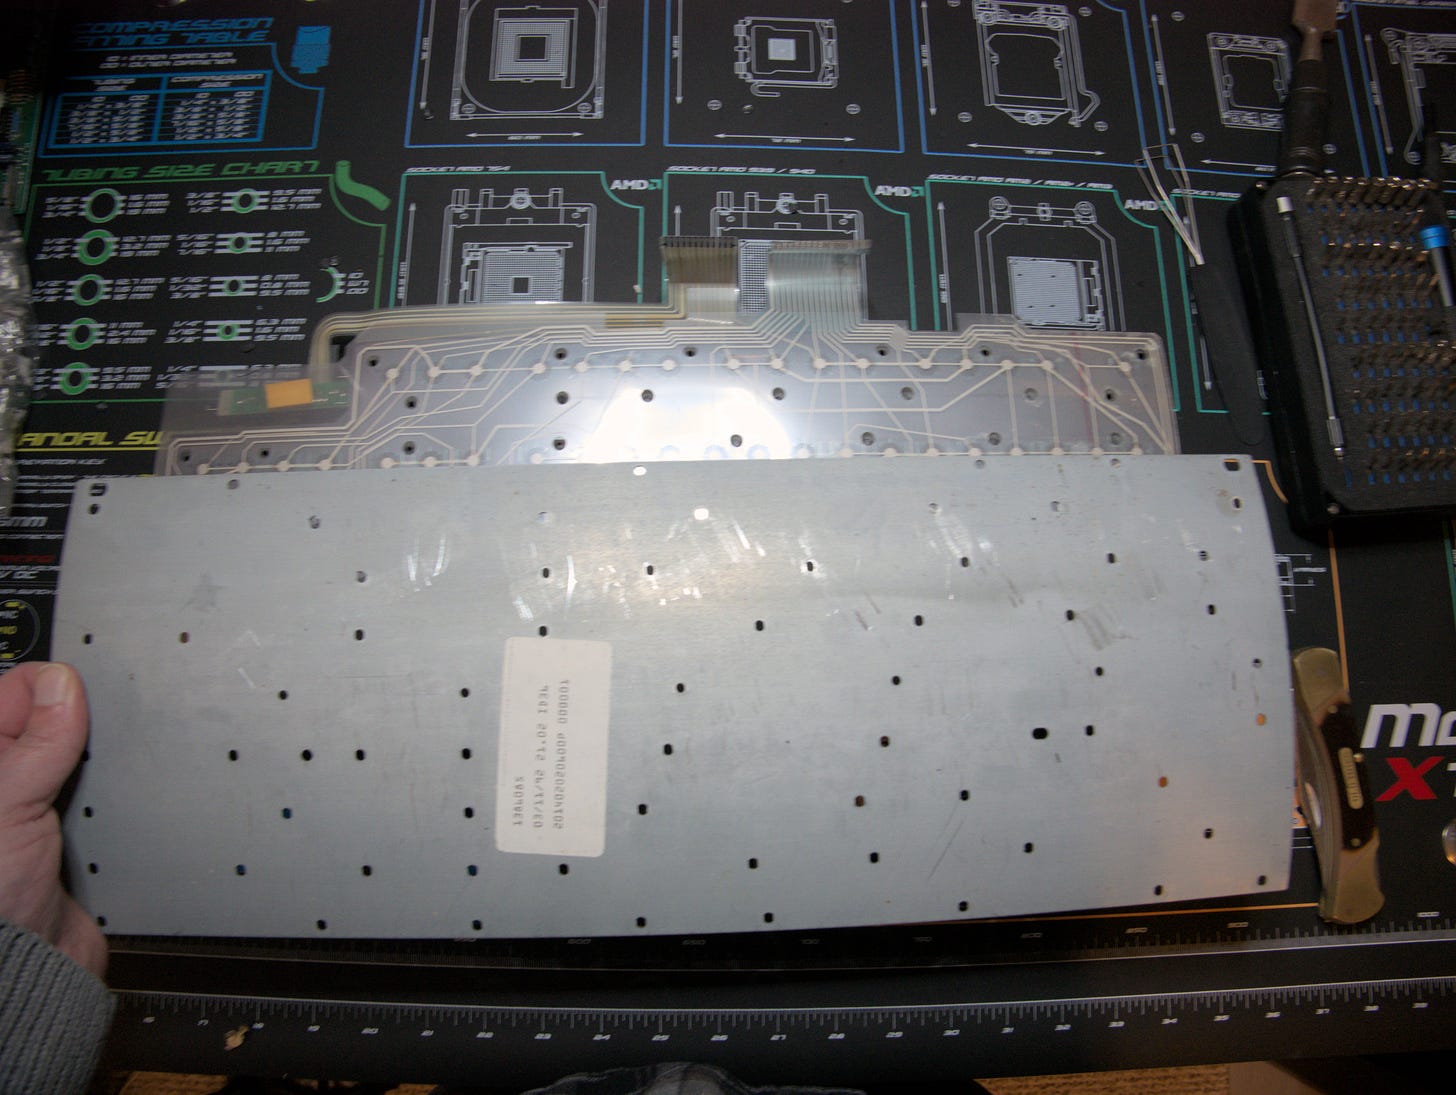
After they are all gone, you can lift the metal back plate, membrane assembly, and the rubbery spacer thingy off.
That will expose all the pivot plates. Note that there is one not in place by the space bar. You can add one to make it more stiff if you wish. I left the key caps on to show what happens if you don’t have a jig to work on. It would be almost impossible to put them all back together when they bounce out of their saddles!
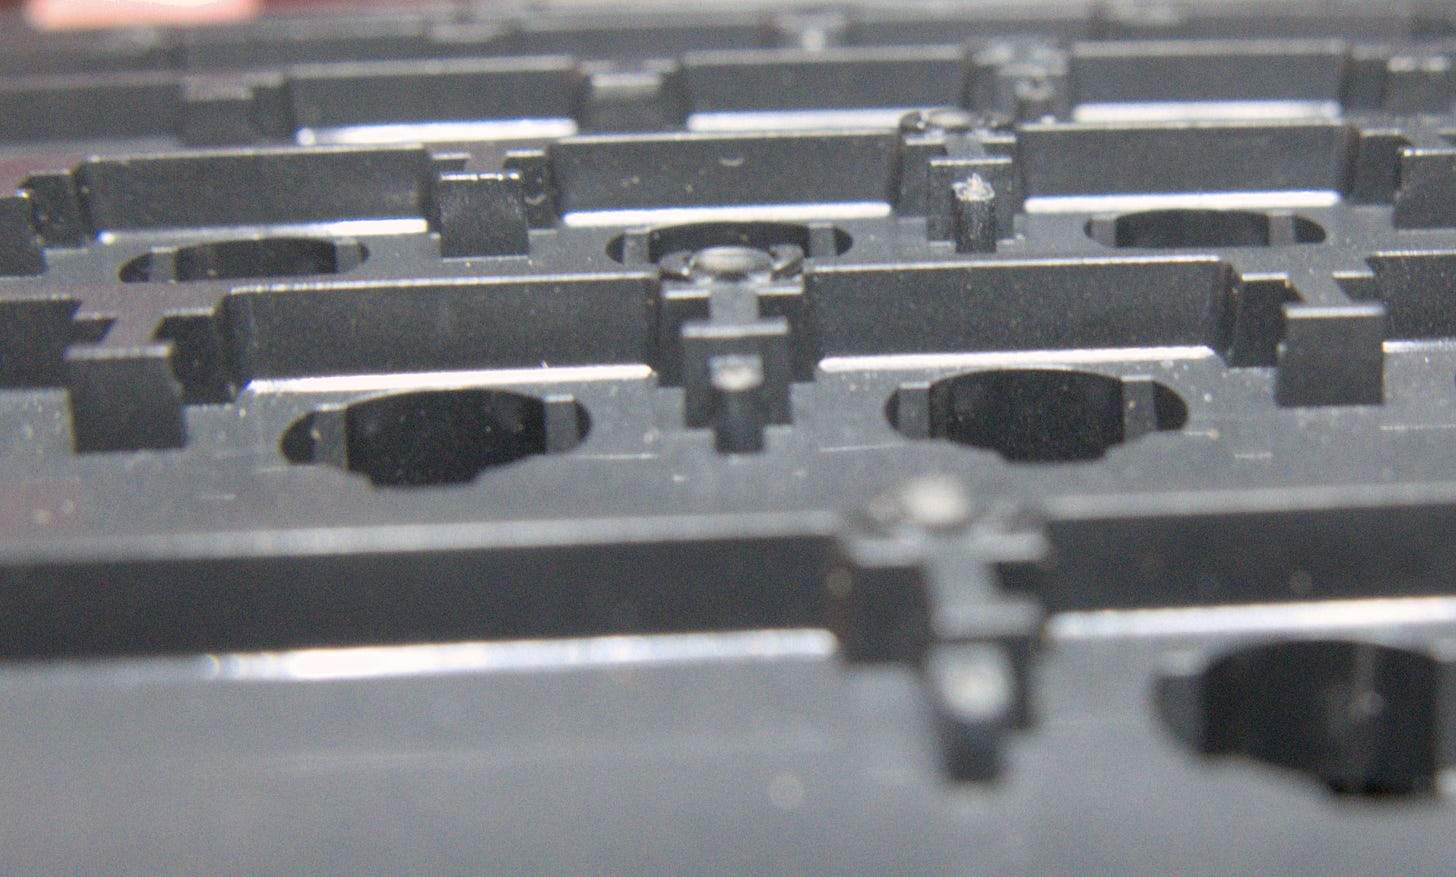
Now you can use the razor scraper to cut the little rivet remnants off. Leave the little stand-offs that look like ().
It’ll look like this when done.
At this point, I’d go wash the frame in the sink with some Dawn.
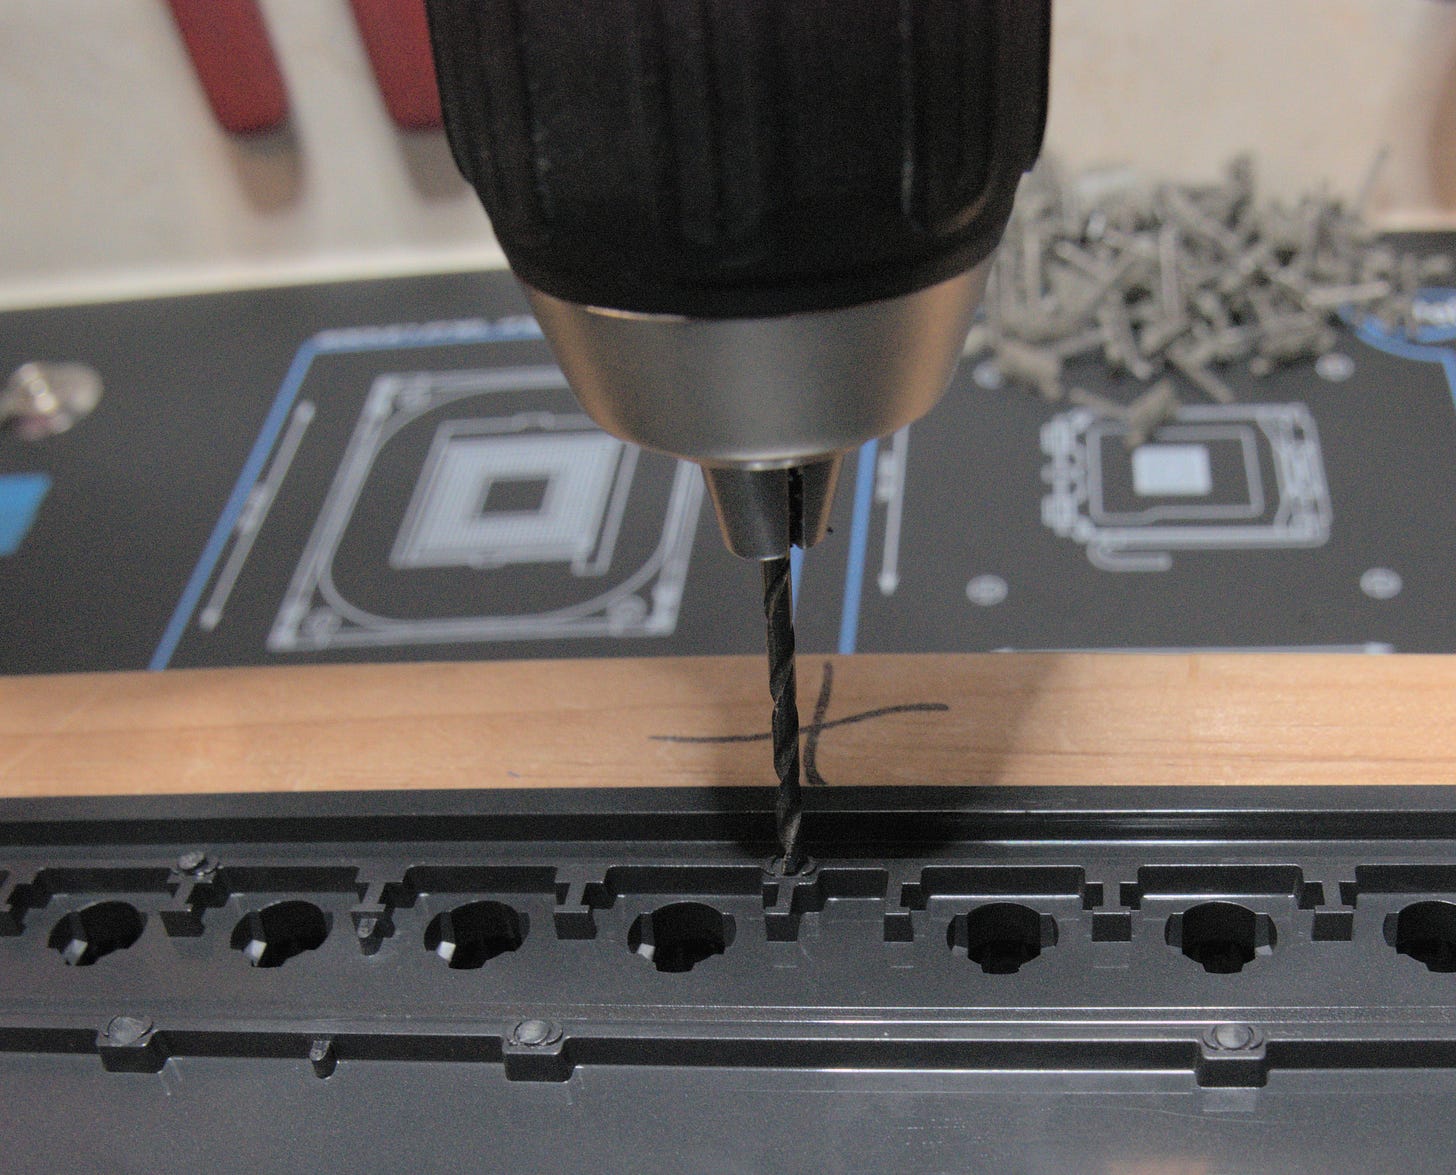
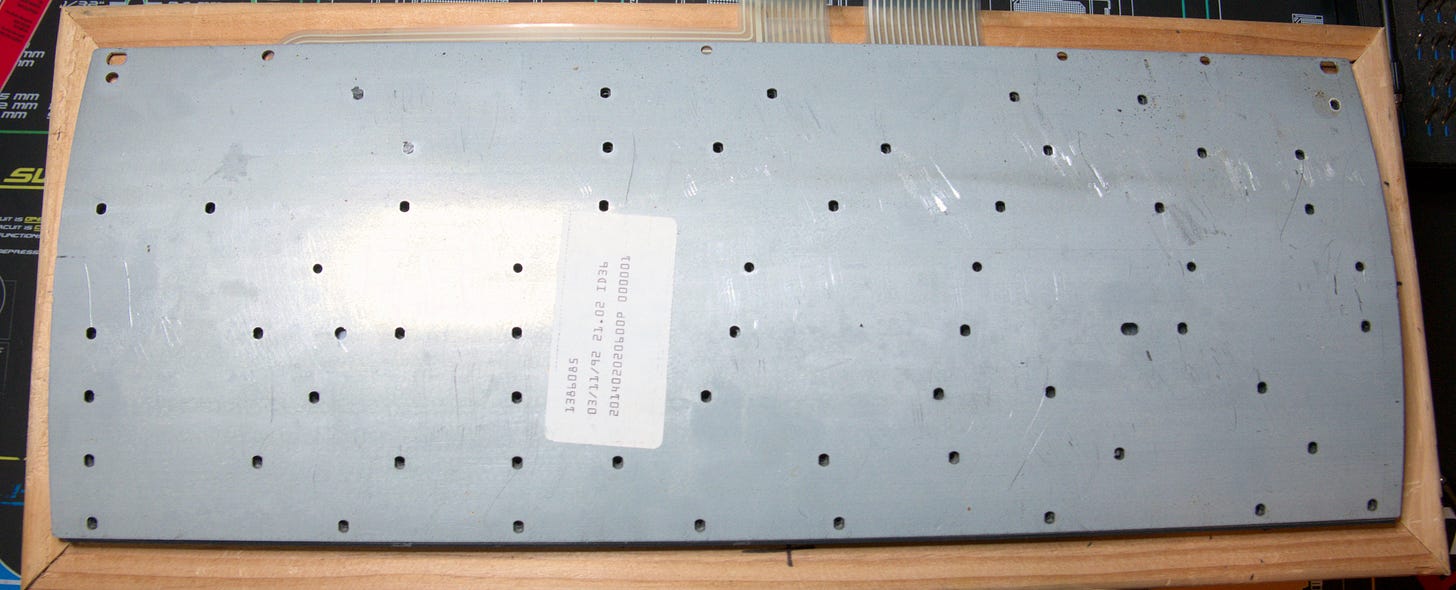
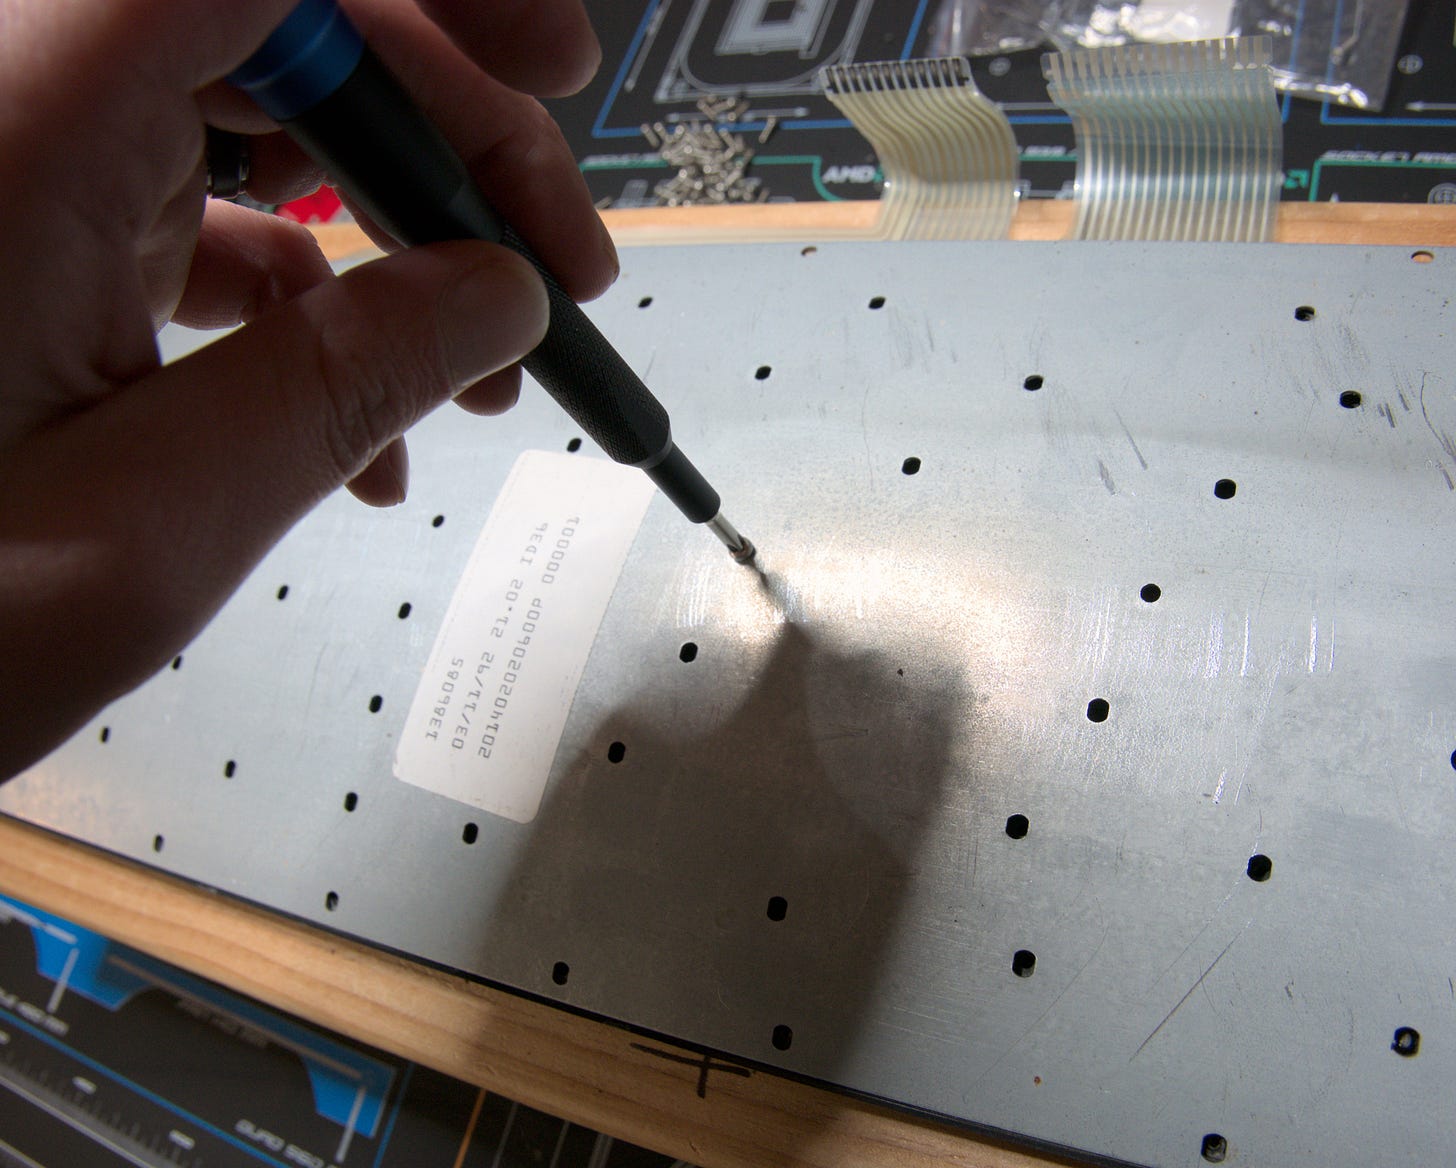
Now we are ready to drill some holes. This is way easier with a drill press. If you don’t have one, I recommend drilling 1/16 in holes for all of them first, Then come back with the 3/32 in bit. Make sure to drill as close to 90 degrees as possible. They don’t need to be super perfectly centered, but get as close as you can. Remove burrs best you can as well.
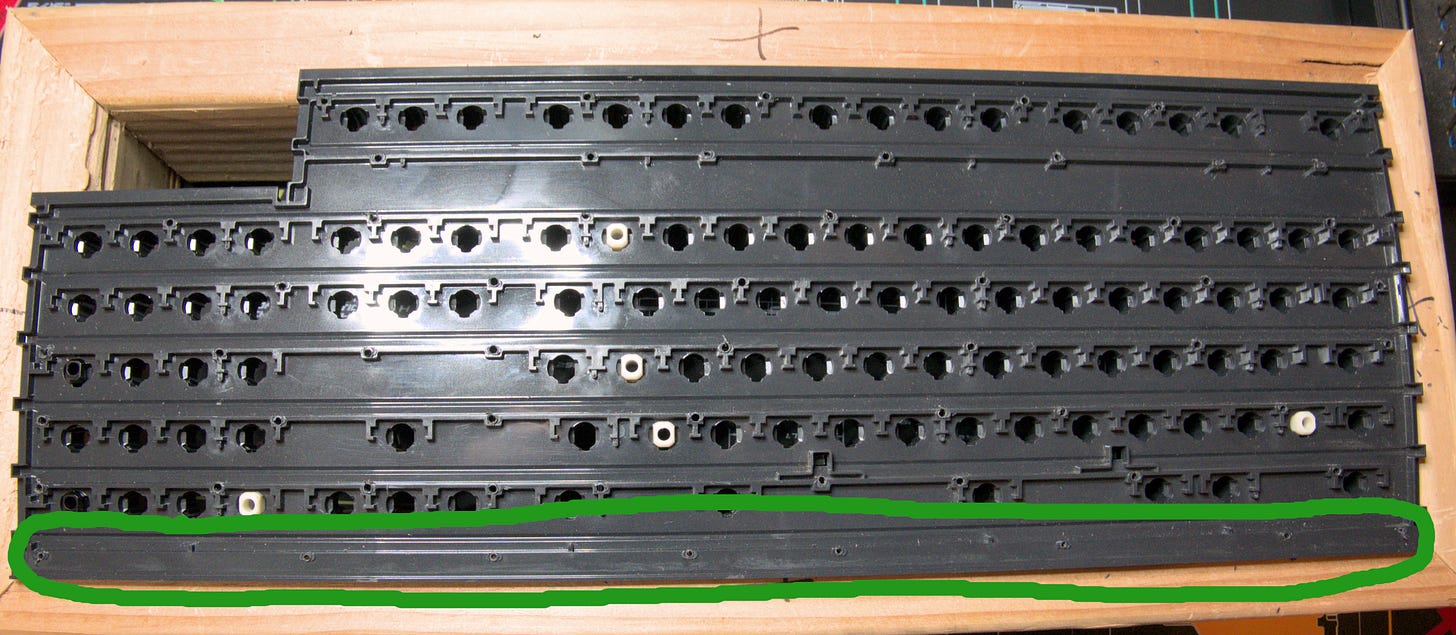
Leave the 8 bottom holes near the space bar at 1/16 in holes!! This is where the short screws go.
Time to put the pivot plates and springs back in. See how nicely they lay when you have a jig and no key caps on?
Lay the rubbery separator thingy on, matching the holes. Then same with the membrane, and finally the back plate. The membrane and back plate will butt up to the bottom ridge.
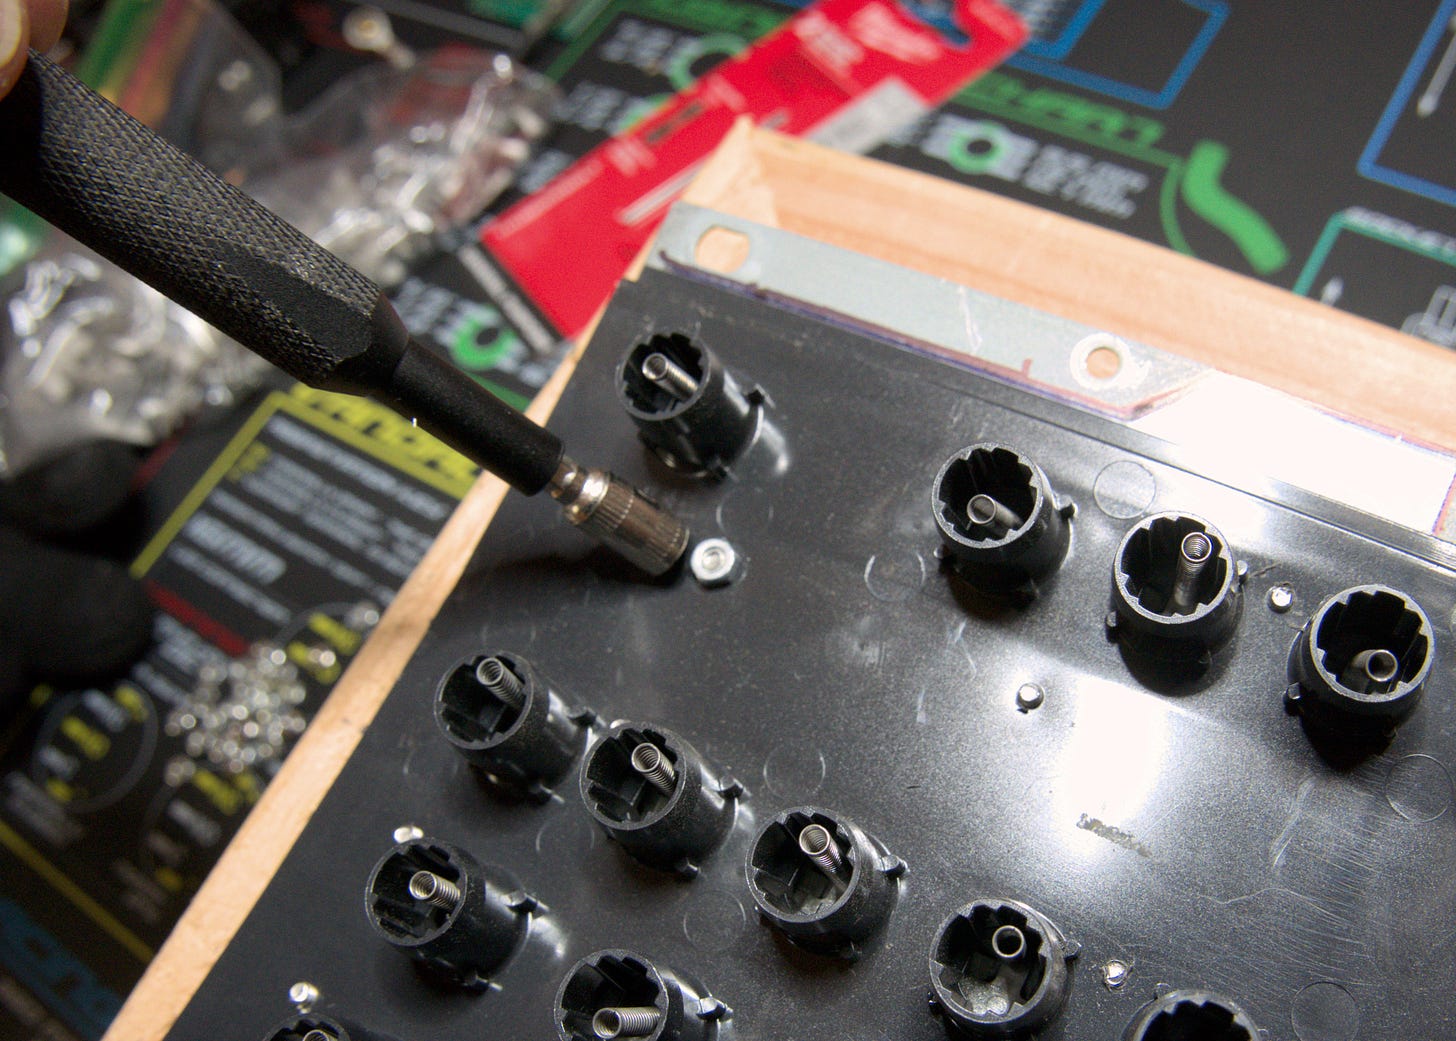
Start putting screws in from the middle since that’s where the frame flexes into place. You’ll notice that they thread in nicely and can snug them up a bit. Don’t over do it here, we just want them to hold until we put the nuts on the other side. Put a few in and then you can carefully flip the entire thing over to check that your marks are lined up. If they are, continue putting screws in from the middle out. On the bottom row, where we left the 1/16 in holes, put the short screws in.
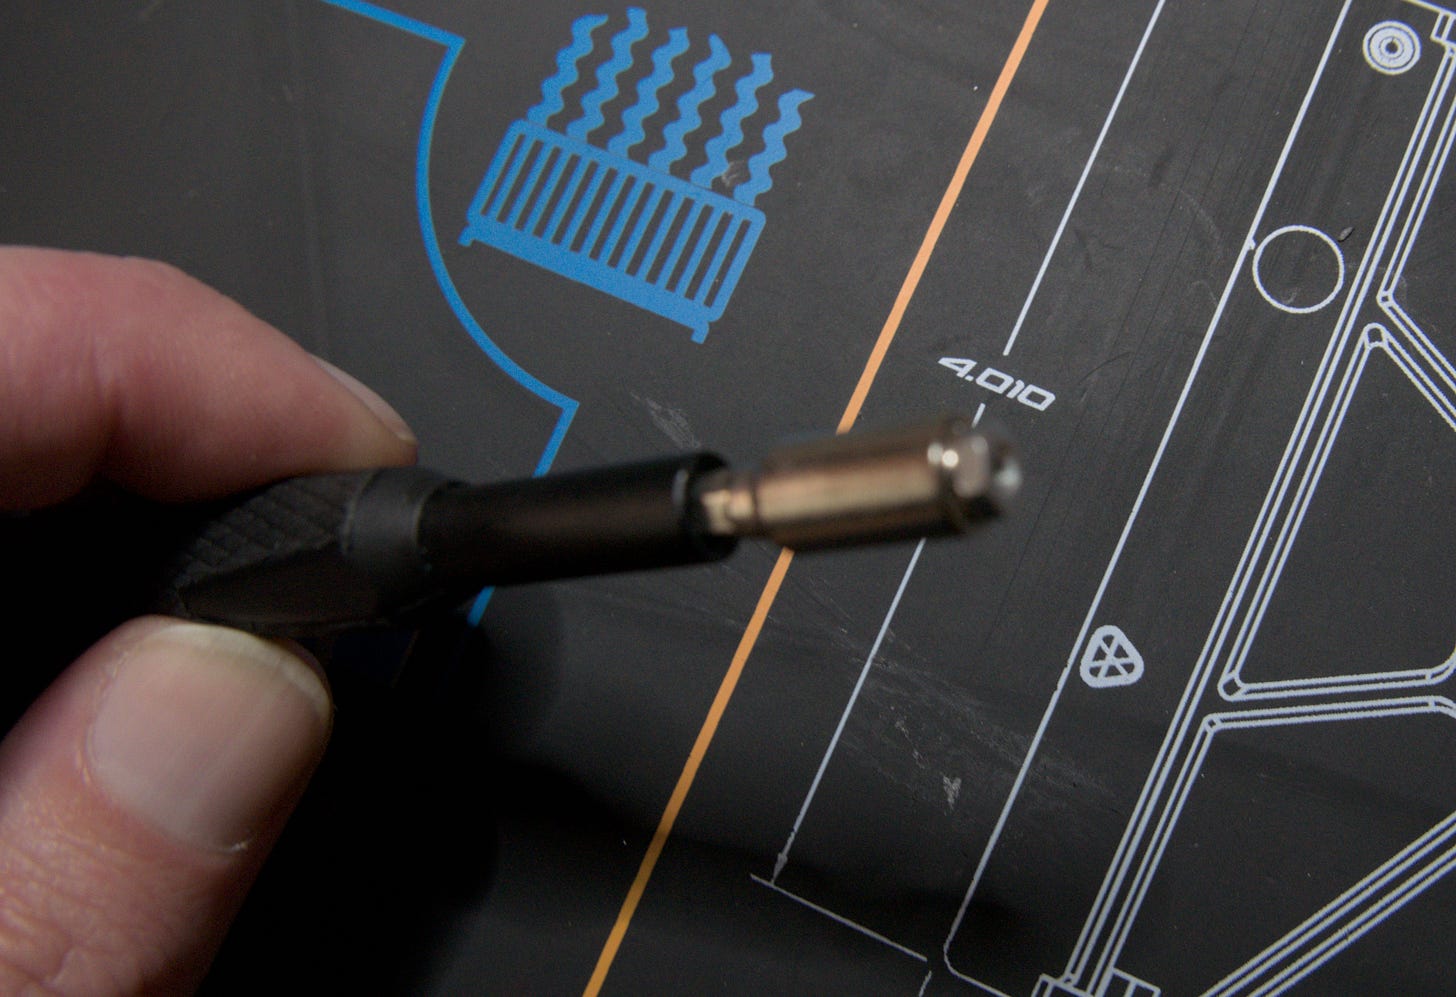
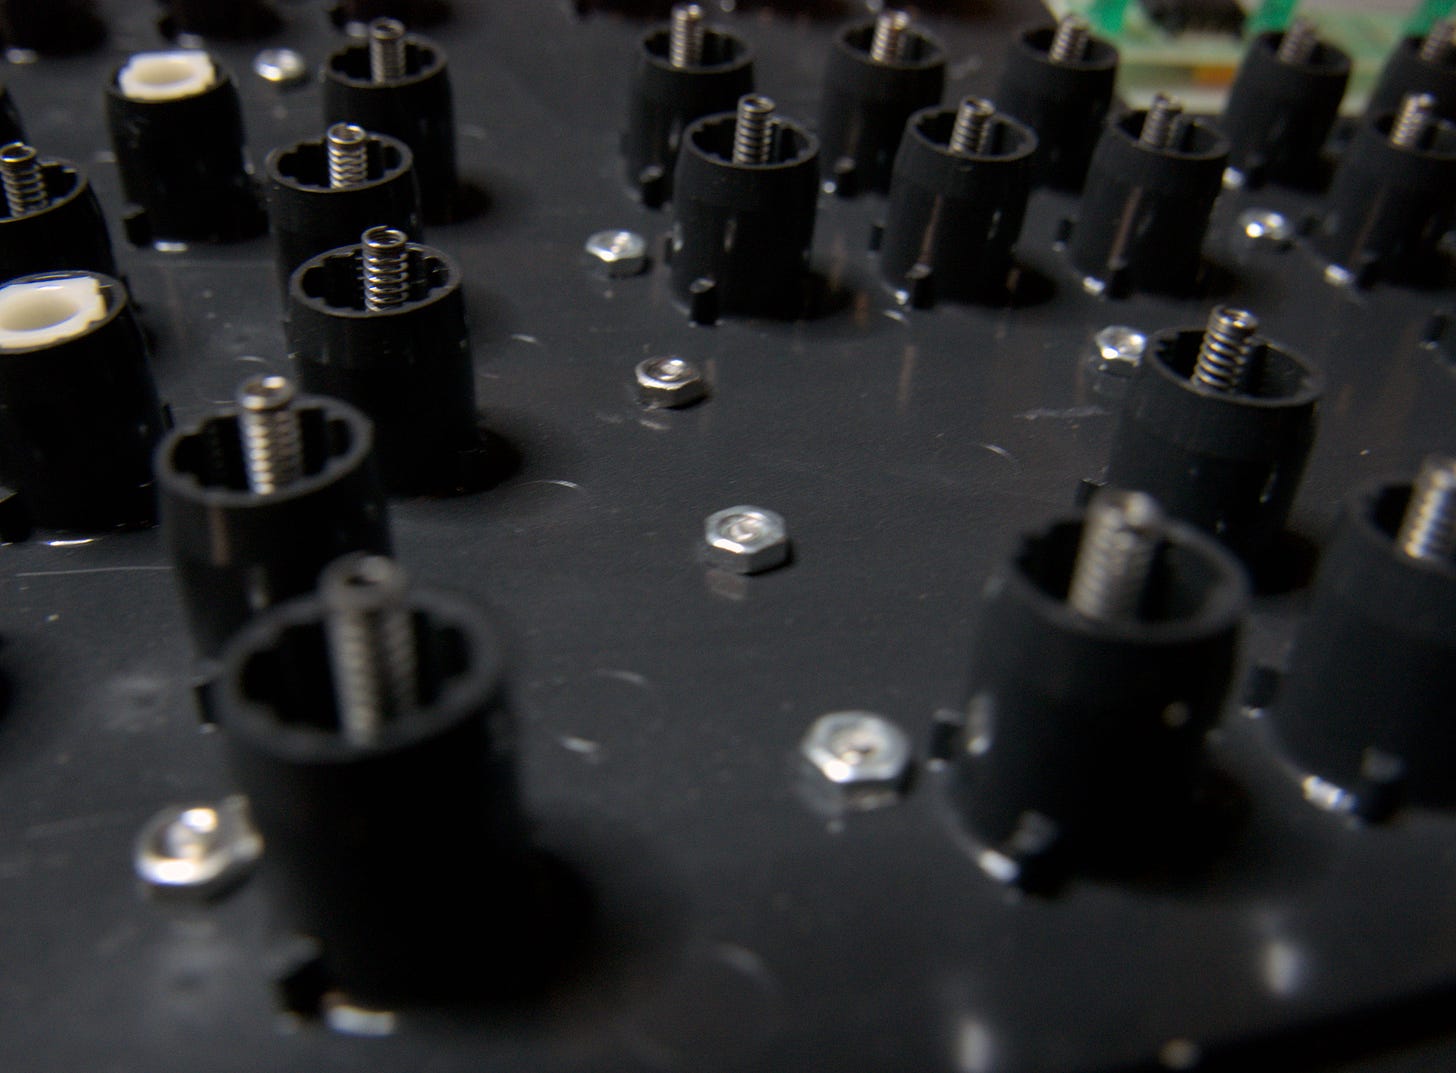
Flip the whole thing over and start putting nuts on the 8mm screws using the 5mm nut driver. If you have the iFixit kit like I do, you can use the magnet bit to start them. Snug them all up until the screw is about flush with the top of the nut.
Congratulations, all the hard stuff is over. It’s time to re-assemble and test! Also, this guide was written on the keyboard I restored here.



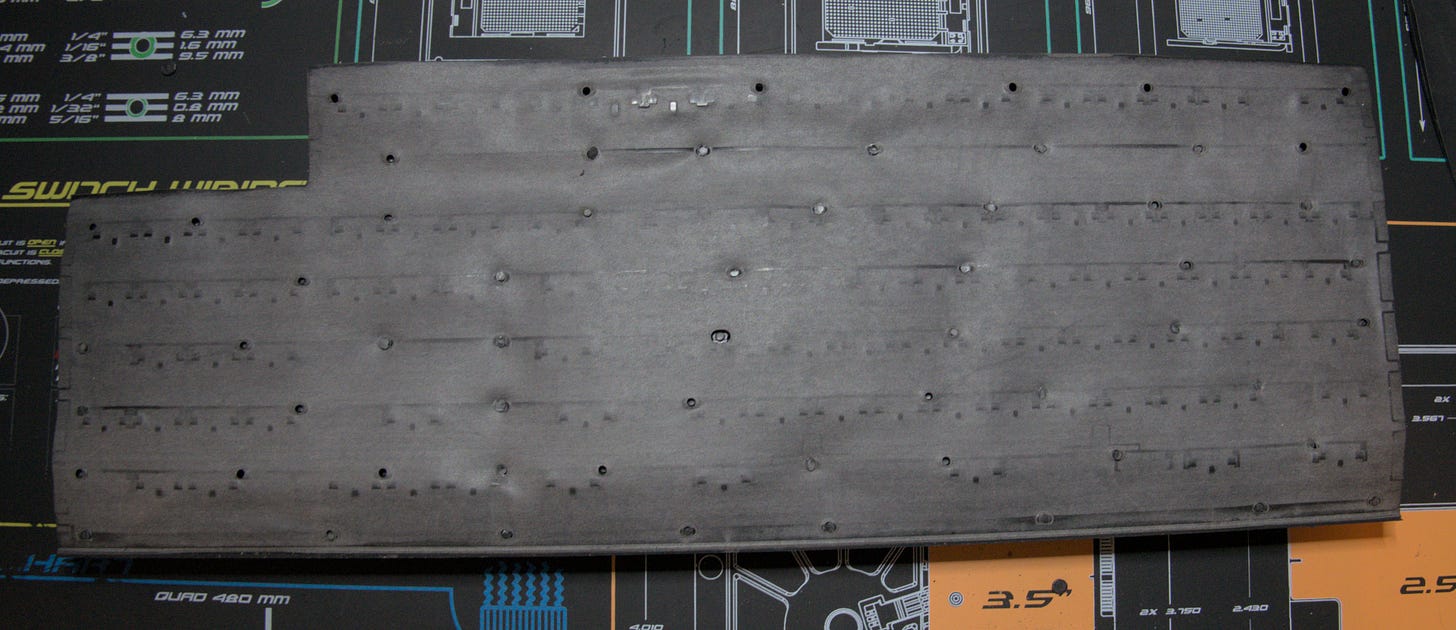
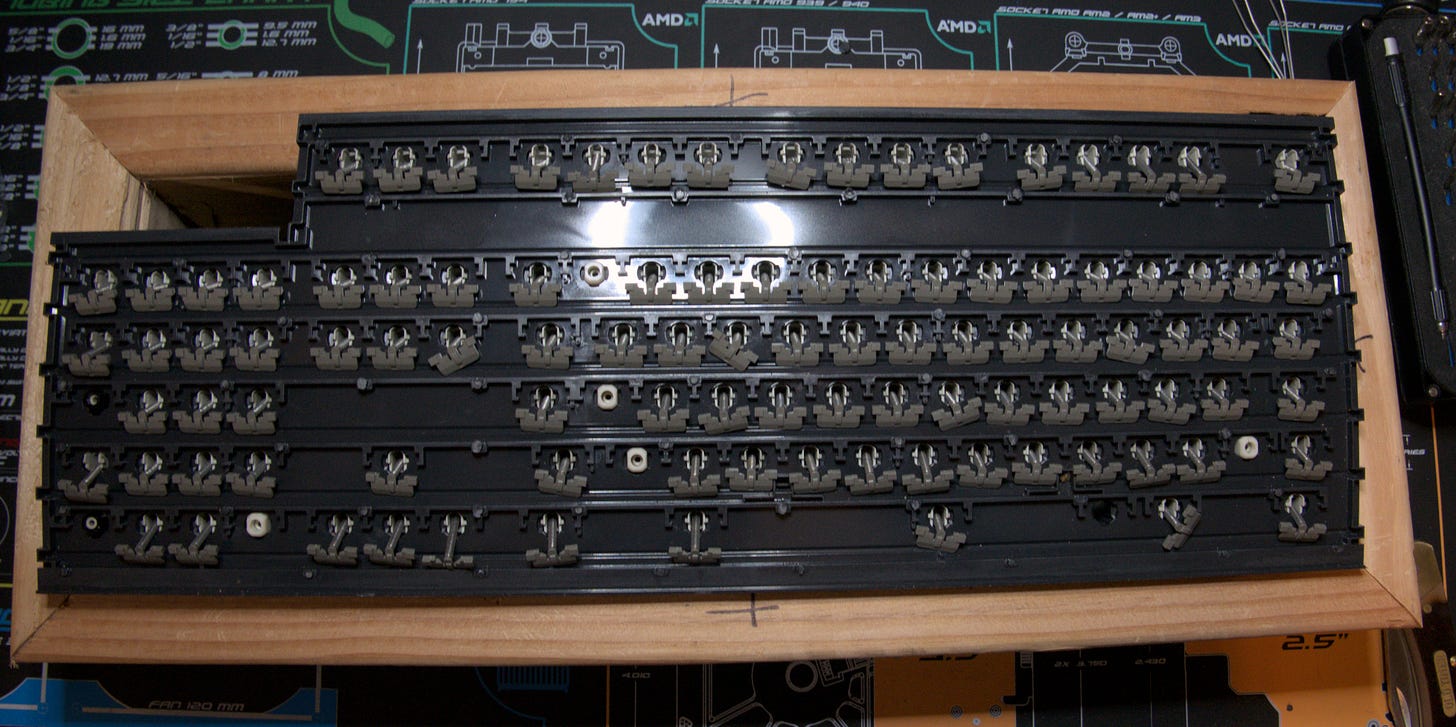
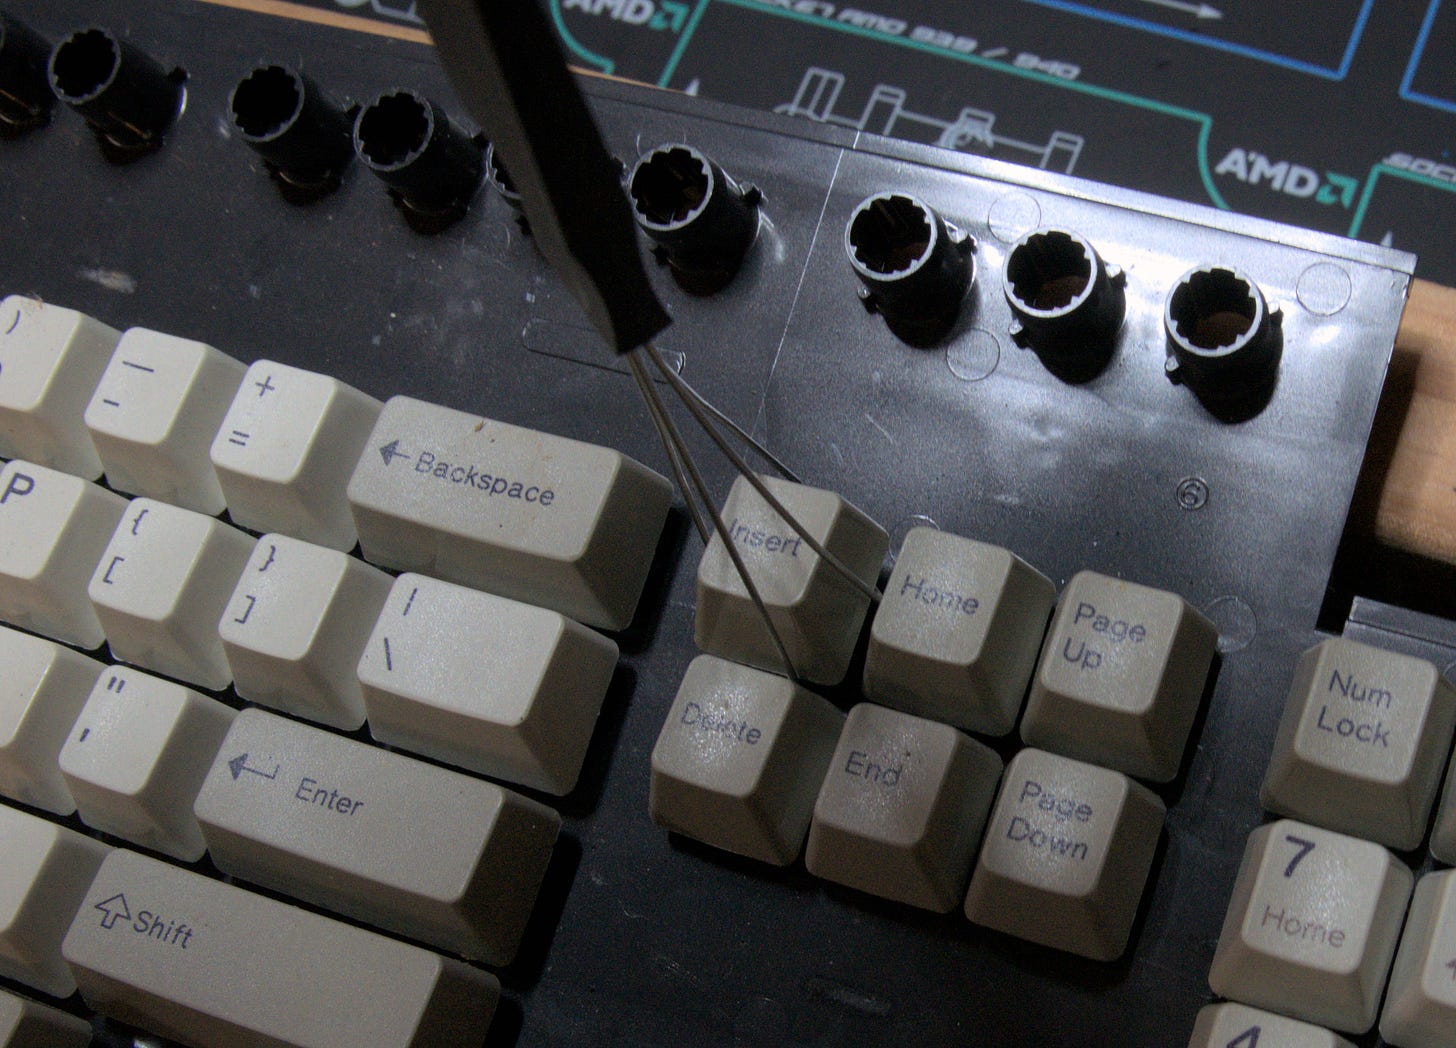
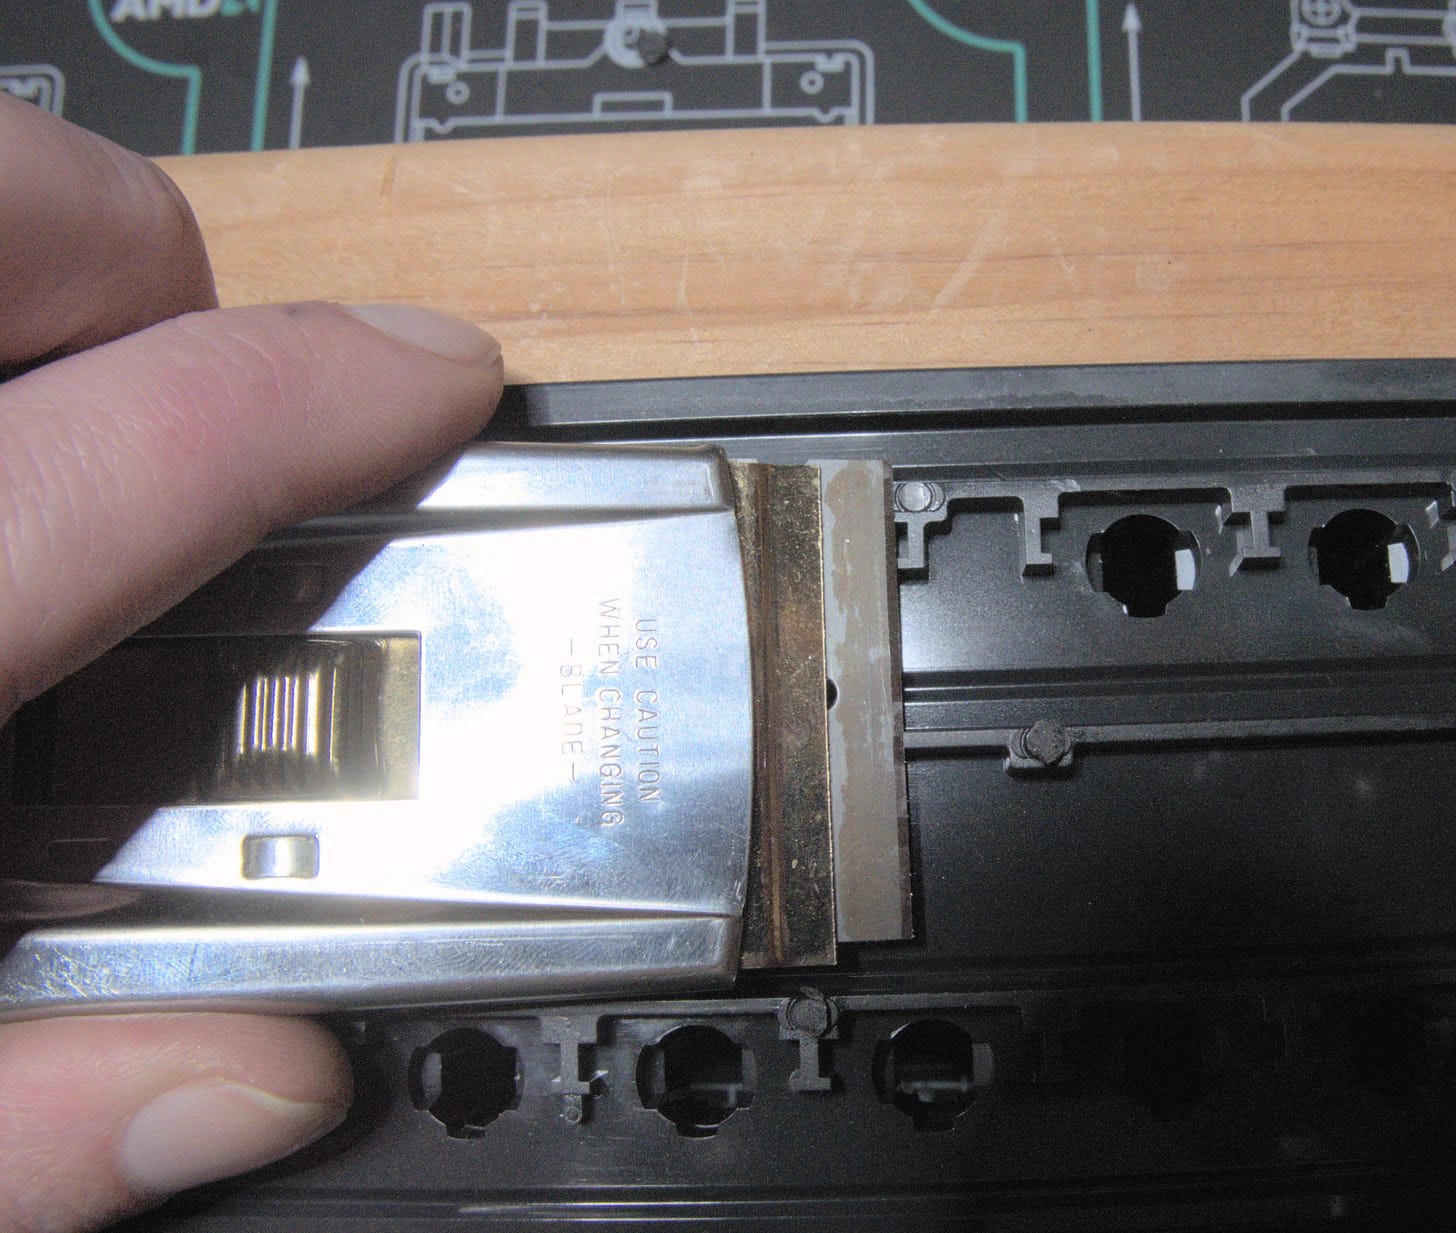
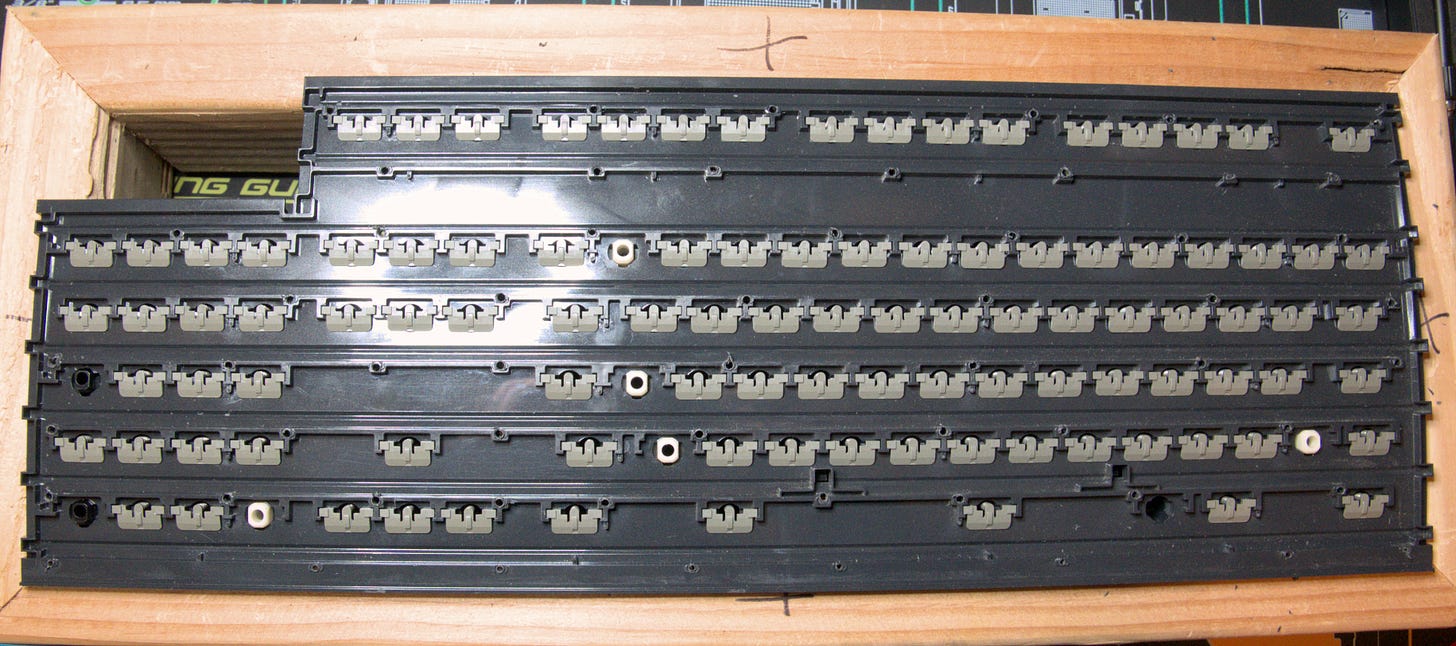
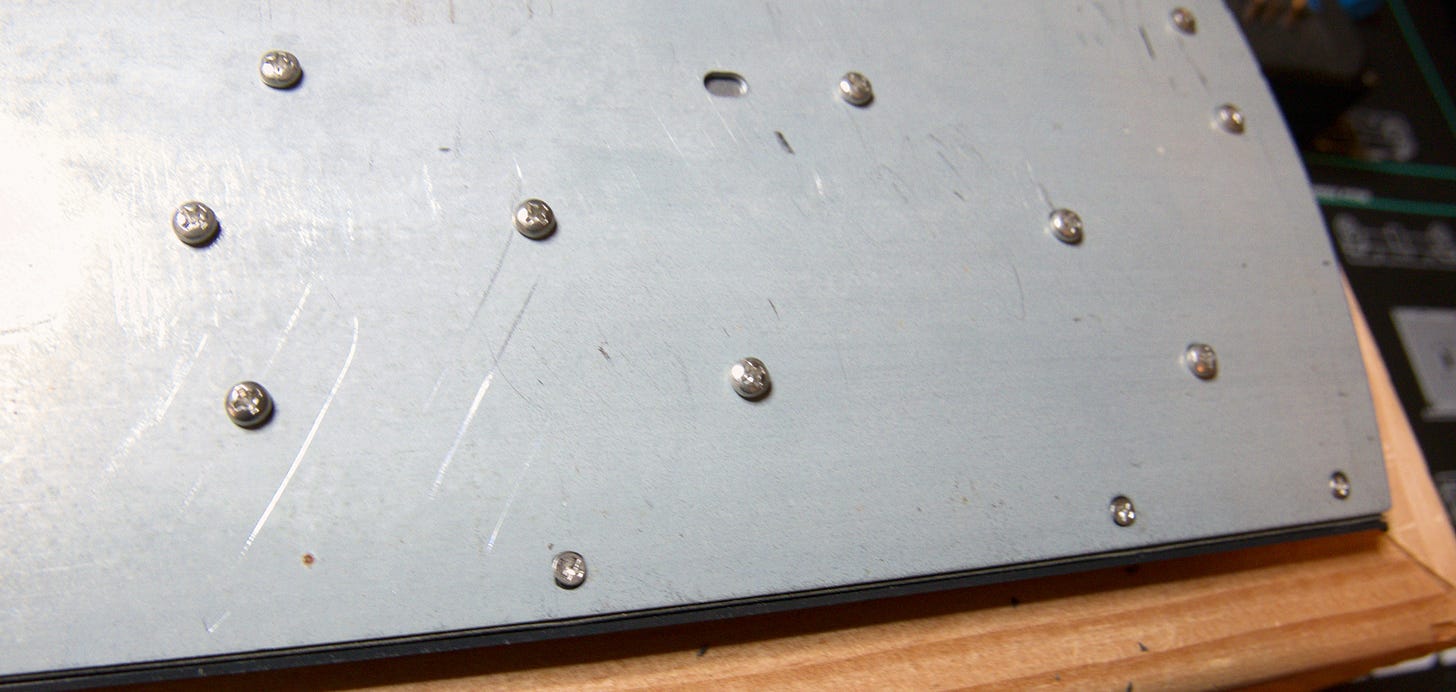
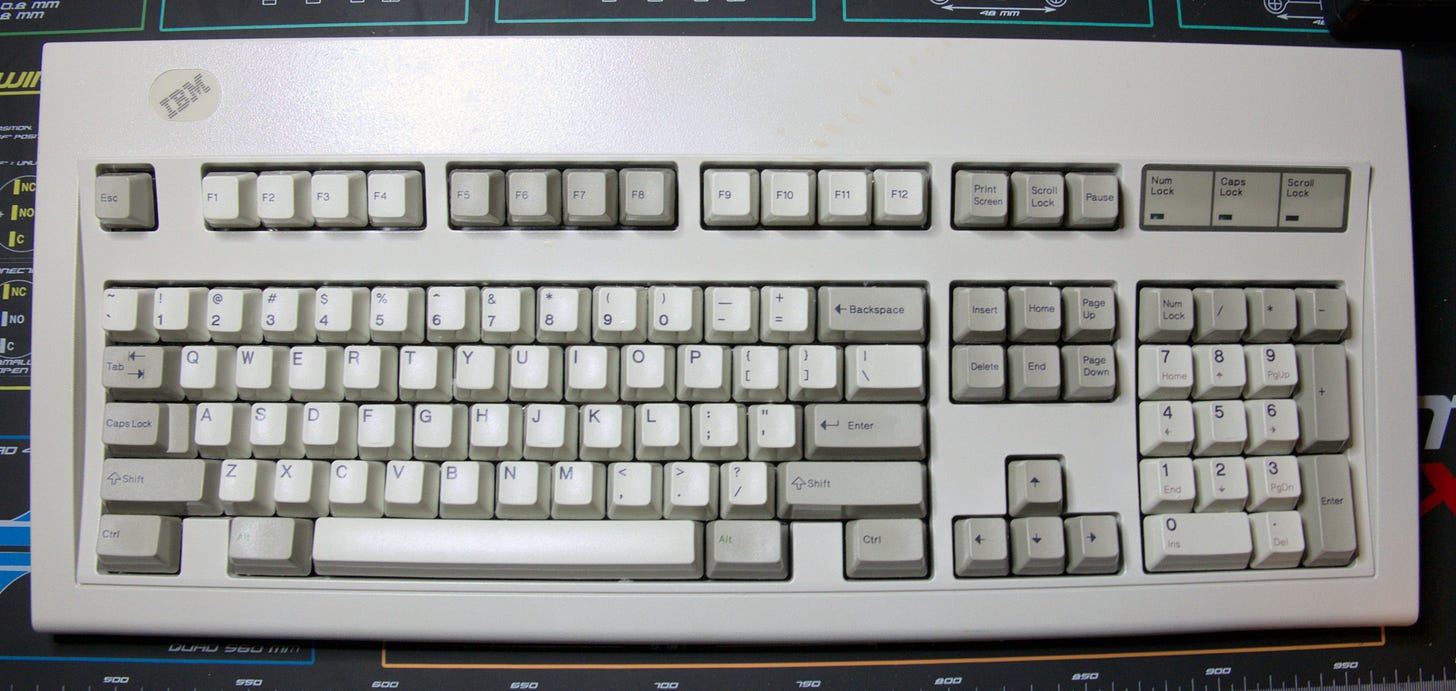
We’ll done and good to see another M will survive. You can tell before disassembling if the old plastic welds are an issue as the sounds and feel of the keys differ. I also used small self tapping screws for the bottom row to avoid case interferences. Only difference with my hardware was the inclusion of flat washers on the nut side. Barrel plate cracking is another common issue and many people buy new ones. With my Square Badge from ‘86, I successfully repaired it with multiple solder iron melts all along the crack. It’s still performing well.
I feel washers even out the torque and reduce stress on the barrel plate. Washers I used (2.2 mm ID, .3mm D) worked well with the M8 8mm cap screws.
It's really strengthened the board but still not as ridgid as a Model F. :)